How To Clean Your Vacuum Cleaner | Best 4 Your Home
Whether you are completely new to cleaning vacuums, or simply curious how to clean your vacuum cleaner to the highest standard, this article serves as a step-by-step guide in helping you do so. Before we explain how to clean your vacuum cleaner, we will start by breaking down some very basic information. This includes a clarification on the type of vacuum cleaners this guide will apply to, potential problems you need to be aware of, and all the materials that you need.
What Type of Vacuum Do you Want to Clean?
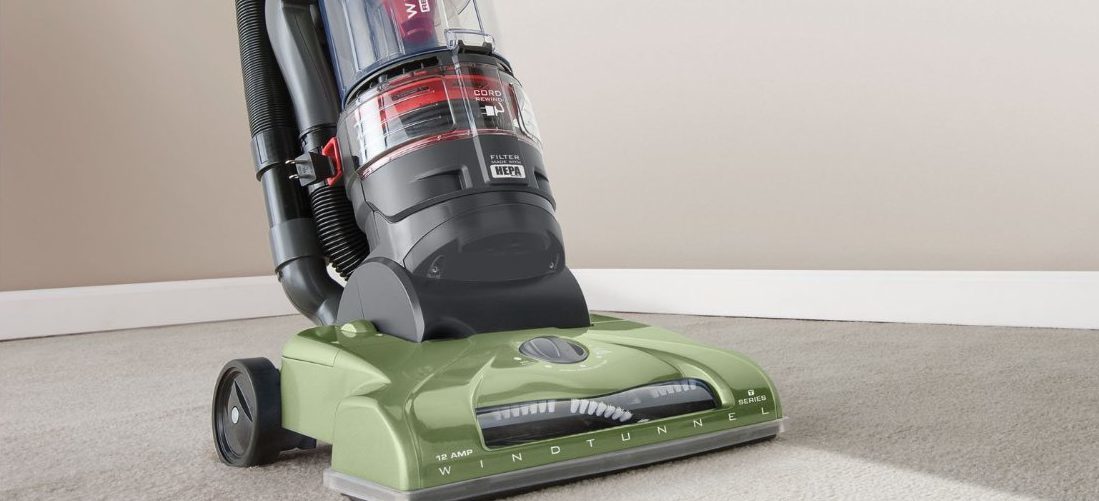
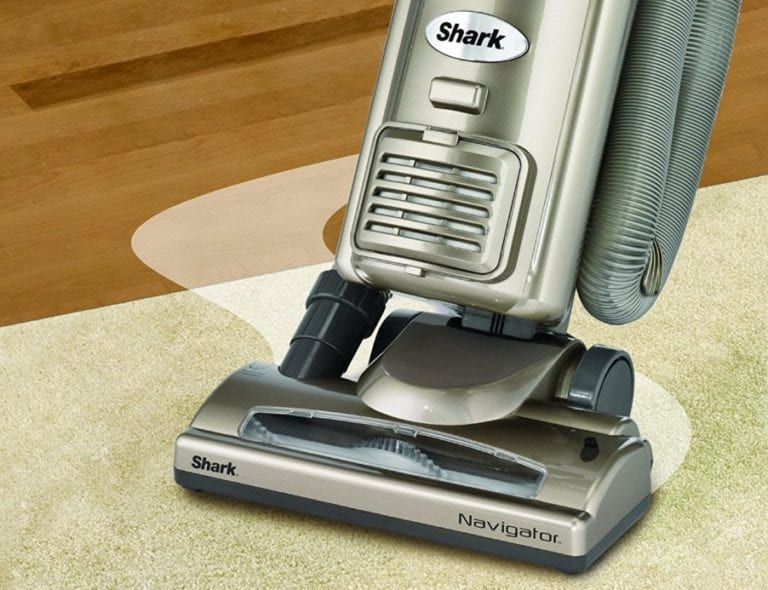
For starters, it’s important to note that there are many different types of vacuum cleaners. As a result, it can be difficult to learn how to clean vacuum cleaner products without first understanding which type of vacuum cleaner you have. Although there are many different types of vacuum cleaners that will still be able to be cleaned using this guide, note that this guide is going to apply to a standard upright vacuum. This is the one that stands up as one piece, comes with a hose to fit attachments, and operates with a rolling brush on the bottom.
How to Clean Vacuum Cleaner: Warnings and Potential Problems
Before we completely break down how to clean vacuum cleaner products, it’s important that we explore a few warnings and potential problems that you may encounter during the cleaning process. Learning how to clean vacuum cleaner products can turn into a dangerous circumstance if you aren’t careful to do things properly and run some basic security checks during the process. For your reference, here are a few of the most basic problems that can completely ruin the cleaning process, or even turn deadly.
Vacuuming Liquids or Cleaning with Liquids
Vacuuming liquids or using liquid products can be a rather dangerous thing to do when you clean your vacuum cleaner. Of course, it may be necessary if you have lots of dirt stuck inside one of the chambers to use water to clean your hose out. Although it is definitely a lot safer to use a broom or mop handle lined with lint-free towels, running water may be the only way to effectively remove every speck of dirt in a clogged and dirty hose.
Related: Vacuums Under $200
Cleaning the Vacuum Cleaner While Plugged in
If you wish to clean your vacuum cleaner, it can’t be stressed enough that you need to remove all power first. Electrical products can be dangerous to open up and clean with an active current still running through them. Although you may not necessarily die from the shock of a vacuum cleaner, it can still produce quite a bit of problems during the cleaning process. If you manage to use liquid products to clean your vacuum with an active electrical current, you can put both yourself and the machine’s life in danger.
Continually Checking the Cord for Insulation Damage
While you learn how to clean vacuum cleaner products, one thing that you should get in the habit of doing is checking the cord to ensure that the insulation is completely intact. Remember that the slightest presence of any bare wire can spell disaster. Accordingly, make sure to check the cord each time you want to clean your vacuum cleaner (or as much as possible) to ensure that you are using your vacuum safely. If you ever notice any bare wire, simply spend a few dollars on some electrical tape and keep it covered up.
How to Clean Vacuum Cleaner: Required Materials
Before you learn how to clean vacuum cleaner products, you will first need to check to make sure that you have all the right materials. Since cleaning a vacuum cleaner can be a tedious process, do yourself a favor and start by making sure that you have all the equipment you need first. The last thing you need is to have to make a last-minute trip to the store to pick up something that you are missing. With all the right materials, the time it takes to clean your vacuum will be minimal.
- A dirty upright (or similar) vacuum cleaner
- Broom or mop handle
- White vinegar
- Lint-free cloths
- A sharp object like scissors or a knife
- Water hose (optional)
- Brush (optional)
- Replacement filter (potentially)
- Replacement brush belt (potentially)
- Screwdriver (potentially)
Right off the bat, it may be relevant to explain what the main materials will be used for. This way, you can decide if you need them all or not. A broom or mop handle will be used (along with cloths) to clean the hose of the vacuum. Vinegar will be used to clean areas which are dirty and grimy. Lint-free cloths will be used for all steps involving wiping. You will need a sharp object to cut hairs and other tangled objects from the roller brush. Finally, a water hose is a great way to clean out the hose, but it comes with the need for extra time spent drying the hose before it can be used again.
Related Article: Best Vacuum for Wood Floor
How to Clean Vacuum Cleaner: 10 Steps
With basic background knowledge out of the way, let’s go ahead and break down how to clean vacuum cleaner products within an hour or so. Before you begin, make sure that you have at least a couple days free before you will use your vacuum again. Since you may decide to use water while cleaning your vacuum, it’s important that you reserve plenty of time to allow the vacuum to dry. Remember that most vacuums are not designed to suck up water and turning on a vacuum with water inside can break the vacuum and electrocute the person who did it.
1. Unplug the Vacuum and Clean the Trash Canister
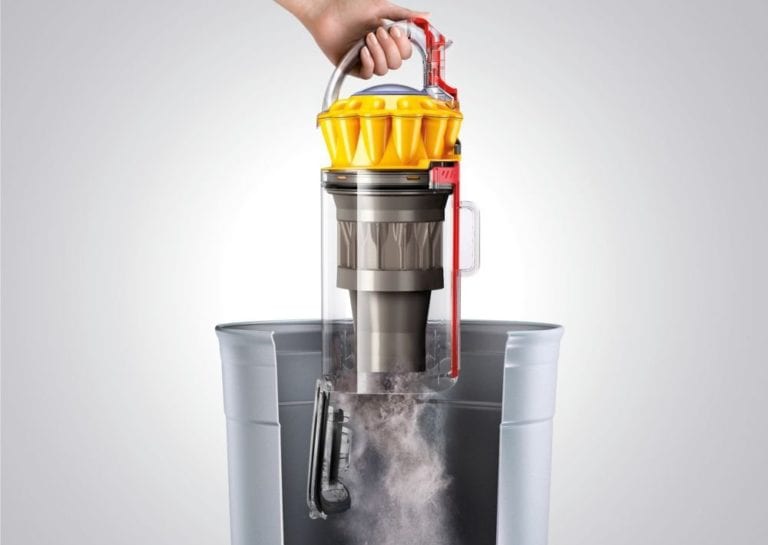
For starters, the first thing that you need to do before starting the cleaning process is to make sure that the vacuum is ready to go. To do this, start by unplugging the vacuum. Quickly turn the power on and off to confirm that there is no active electrical current. Once you are confident that the electrical current is not running through the vacuum, remove the trash bag or canister. Using white vinegar and lint-free cloths, wipe down all of the dirt in the canister area. You will know when the vinegar is dry because you will no longer smell it.
2. Wipe down and Clean the Filter
Once you have the trash canister area completely cleaned out, the next step is to spend some time with the filter. This is a crucial area since this is where all the air passes through as you are vacuuming. To clean it out, start by using a dry cloth to take out as much of the dirt as possible. Then use a separate clean cloth, damp it with a small amount of vinegar, and remove the rest of the dirt. If the filter appears to be uncleanable, replace the filter with a new one.
3. Remove the Hose from the Vacuum & Clean it Out
With the trash canister and filter out of the way, let’s switch our focus to the hose itself. Most upright vacuum models allow you to completely remove the hose from the vacuum. You may need to use a screwdriver or unlock a latch or two to get the hose out. It is recommended that you clean the vacuum hose by using a broom mop lined with cloths. Start by using a smidge of vinegar on the cloths to clean out the walls. Since vinegar kills bacteria and the odor goes away when it’s dry, it’s a great product to use on vacuums.
Related Article: Lightweight Vacuum Cleaners
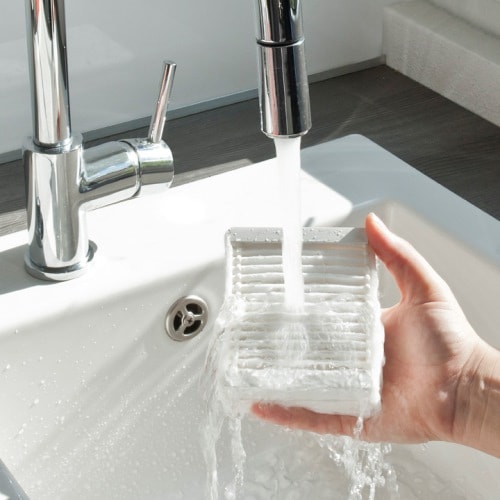
4. Run Water Through the Hose (Optional)
In some cases, there are circumstances where the hose in your vacuum needs a little extra cleaning. Specifically, if you notice that no matter how many times you use a cloth and broom to wipe down the walls of the hose there is still dirt present, using water might be your best option. Use your thumb to make the water run at the highest pressure possible. Then, watch where the water comes out and keep moving around until you notice that the water coming out is completely clear.
5. Lay the Vacuum Down and Remove the Brush
With a couple of the main components out of the way, it’s now time to focus on the mechanism which actually sucks up the dirt and garbage from the ground. Accordingly, this is a stage of the cleaning process which requires special attention and care. To get started, lay the vacuum down flat on the ground and expose the brush. If necessary, use a screwdriver to unlock the frame and take out the brush. However, keep in mind that some models may not allow you to do this. Be careful not to break the belt while removing the brush.
6. Remove All Hairs and Tangled Objects from the Brush & the Brush Slot
With the brush out, it’s time to carefully remove as much tangled garbage out of it as possible. Typically, the brush on a vacuum cleaner will be infested with tangled hairs and other similar long, sticky, and fuzzy objects. Remove all the gunk and fuzzy products that are sticking to the brush and can be simply pulled off. Then, use a knife or scissors to cut any of the hairs that are wrapped around and stuck on the brush.
7. Make sure the Brush Belt is Still Intact & Clean
The belt brush is a rubber circle which allows the motor to spin the brush around, and accordingly, pick up any trash that you may have on the ground. As a result, it’s important that you keep it clean and intact. You may even decide to change the brush belt if it is torn, stretched out extensively, or damaged. In most cases, a simple wipe down will do. Once clean, leave it to dry overnight.
8. Completely Sanitize the Brush and Brush Slot
Once you remove the belt and have the brush out and ready to be cleaned, spend time thoroughly cleaning the brush and removing all possible pieces of dirt. This will help the brush to function much more efficiently. Finally, once you have the brush cleaned, spend some time wiping down the chamber where the brush and brush belt normally sit. Typically, the slot where these things sit can be very dirty and full of grime. Use some white vinegar to completely sanitize it.
9. Completely Wipe Down the Vacuum Exterior
Once you reach this step, you are nearly finished with cleaning your vacuum. However, it’s important that you also clean and maintain the parts which are on the outside. The exterior of the vacuum is the place where you are constantly touching when handling it, and accordingly, can have plenty of germs and bacteria present. For a final touch to the cleaning process, make sure to thoroughly wipe down the exterior using white vinegar.
10. Wait for All Parts to Be Completely Dry Before Using the Vacuum
Finally, it’s important after a good vacuum cleaning session to let all of the parts sit for an extended period of time so that they can dry. If you used vinegar, it is simple to test how dry the parts are. Simply smell the parts. If you can sense the scent of vinegar, then it needs to sit for a longer period of time. If you use water, let it sit for a day or so in a well-ventilated area before even thinking about connecting all the parts together and using the vacuum again.
How to Clean Vacuum Cleaner: Tips & Tricks
For many people, learning how to clean vacuum cleaner products is a daunting task. However, as we have demonstrated, this is a task that just about anybody can do. Now that we have covered the basic steps behind cleaning your vacuum cleaner, let’s now break down some extra tips and tricks to help streamline this process and make it easier the next time you need to do it.
Consider a Professional Cleaning
Odds are high that if you are just now learning how to clean a vacuum cleaner that you aren’t quite that good at it. If you are the type of person who considers their time to be more valuable than their money, then you might instead simply hire a professional cleaner to clean your vacuum. In most areas, finding somebody who can do a professional cleaning is actually very easy and reasonably affordable.
Avoid Using Water Whenever and Wherever Possible
In case you didn’t already know, water and electricity don’t blend well together. Especially if you want your vacuum to continue working while simultaneously avoiding an electrocution accident. If you want to clean your vacuum in the safest manner, avoid using water whenever you can. Since vinegar dries out and no longer has a noticeable scent, it is much easier to use. Best of all, vinegar also kills most of the bacteria and germs present.
Clean Every Other Week or So
The frequency in which you choose to clean your vacuum will have a direct effect on the suction and overall capability of your vacuum’s cleaning features. If you want your vacuum to be both in tip-top shape and capable of staying this way for the longest period of time possible, simply make sure to clean it as much as possible. You don’t necessarily need to clean every single time you vacuum. Every other week or so should be more than enough.
Let the Vacuum Sit Overnight with Wet Parts Out in the Open
As we briefly noted, it is important not to put everything together right away. Once you are finished with cleaning your vacuum, it’s crucial that you leave the vacuum opened up so that all the parts can dry off and free themselves of the slightest hint of any moisture. The presence of a drop or so of liquid may not necessarily break the vacuum, but it can add over time and damage the overall quality more than you think.
Change Bags with Each Cleaning Session, Change Filters Every 6 Months
If you have a bagless vacuum, you are lucky. You simply need to clean the canister each time you clean the vacuum. You won’t need to worry much about changing the bag, since after all, your vacuum is bagless. However, if you use a bagged vacuum make sure that you change the bag each time you clean the vacuum. Change the filter for the vacuum every 6 months or so. Also, be sure to keep a close eye on the brush belt. It needs to be changed every 6 months or so as well.
How to Clean Vacuum Cleaner: Summary & Reminders
The purpose of this article was to inform you on how to clean vacuum cleaner products without worrying about them breaking or becoming defective. In reality, vacuum cleaners are a rather simple product to both use and clean. With the right level of maintenance, a vacuum cleaner should last for quite a long time. However, make sure to also heed the warnings and follow the instructions described above carefully so that you don’t run into unforeseen problems or circumstances.
