5 Genius Pantry Organization Hacks That Actually Work
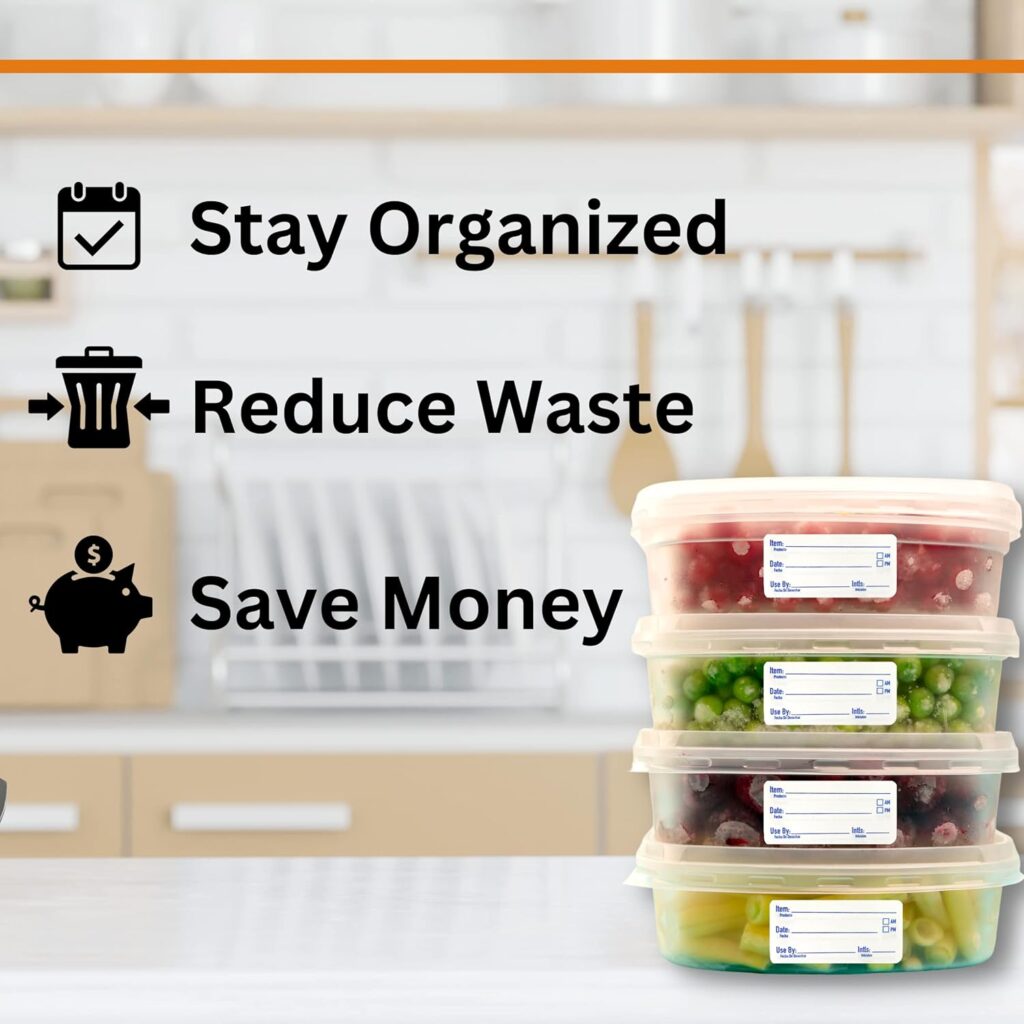
Walking into a chaotic pantry can be frustrating. You waste time searching for ingredients, buy duplicates of items you already have, and throw away food that’s gone bad because you forgot it was there. According to recent studies, the average American family wastes over $1,500 worth of food every year – much of it due to poor organization.
The good news? You don’t need an expensive pantry makeover to get organized. With a few simple strategies and the right tools, you can transform your pantry into an efficient system that saves time, money, and stress. Here are five genius pantry organization hacks that actually work.
1. Use Dissolvable Labels to Track Everything
If you’re not labeling your pantry items, you’re wasting money. The biggest issue with pantry organization is not knowing when things were opened or how long they’ve been sitting there. Regular labels might seem like the obvious solution, but they create their own problem: sticky residue that ruins your containers.
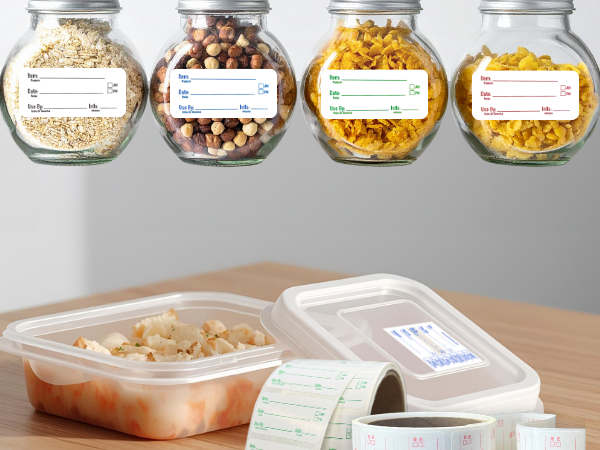
This is where dissolvable food labels changed everything for me. Unlike regular labels, these completely dissolve in water—whether you’re washing by hand or running them through the dishwasher. No scrubbing, no goo, no wasted time cleaning sticky residue off your jars and containers.
My favorite dissolvable labels are the ATL Dissolvable Food Labels. Here’s why they work so well:
They wash away completely. Toss your labeled containers in the dishwasher and the labels dissolve like magic. Your containers come out perfectly clean and ready to relabel for next time. This is a game-changer if you reuse containers for different items.
Color-coded organization. These labels come in 7 different colors, so you can assign each color to a day of the week for meal prep. Monday gets blue labels, Tuesday gets green, and so on. At a glance, you know exactly when something was made.
I use these on everything: opened packages of flour or rice, bulk bin items, leftovers, meal prep containers, canning jars, and freezer items. Since I started labeling consistently, I’ve reduced my food waste by about 30%, which saves me over $400 per year. Plus, I no longer waste time scrubbing residue off containers.
The labels work on all surfaces—plastic, metal, glass—and they adhere to both warm and cold items. They withstand fridge and freezer conditions with no problem. For best results with frozen items, apply the label before freezing.
2. Organize by Category and Frequency of Use
Once everything is labeled, the next step is organizing where items go. Most people just shove things wherever they fit, but there’s a smarter approach.
Organize your pantry by category AND how often you use items:
Eye-level shelves: Place your most-used items here—cereals, snacks, cooking oils, and everyday spices. These are the things you reach for daily.
Lower shelves: Store heavier items and things you use weekly, like canned goods, bulk bags of rice or flour, and pasta.
Upper shelves: Reserve these for rarely used items such as specialty baking ingredients, holiday items, or backup stock.
Door or side areas: Perfect for small items like spice packets, seasoning mixes, or small snacks.
This system works because you naturally reach for what you need without searching. You’ll use what you have instead of buying duplicates, and items won’t get “lost” in the back of the pantry.
The key is being able to SEE what you have. This is why labeling (Hack #1) is so critical. When everything is clearly labeled with dissolvable labels, you know exactly what’s on each shelf at a glance.

3. Implement a “First In, First Out” System
This hack dramatically reduces food waste and saves money. The concept is simple: use older items before newer ones. In restaurants, this is called FIFO (First In, First Out), and it works just as well at home.
Date everything. When you bring groceries home, label items with the purchase date. When you open a package, label the container with the date opened. This is where dissolvable labels really shine—you can quickly label everything as you unpack groceries.
Put newer items in the back. When restocking your pantry, place new items behind older ones. This forces you to use the older items first.
Create a “use first” zone. Dedicate one small basket or shelf area for items that need to be used soon. Check this zone first when planning meals.
Color-code by week. If you meal prep, use different colored labels for each week. This makes it incredibly easy to see which items are oldest and should be eaten first.
The USDA estimates that 30-40% of the US food supply is wasted. In your home, that could mean hundreds of dollars literally thrown in the trash. With a FIFO system and proper labeling, you’ll use food before it expires, waste less money, and reduce guilt about throwing away food.
4. Use Clear Containers for Key Items
You don’t need expensive matching containers for everything, but strategic use of clear containers makes a huge difference.
Transfer opened bags of flour, sugar, rice, pasta, and cereal into clear airtight containers. This serves multiple purposes: you can see exactly how much you have left, it keeps food fresher, it maximizes shelf space (containers stack better than bags), and it looks cleaner.
Here’s what you DON’T need: every container matching perfectly or expensive label makers. Just get a few good airtight containers for your most-used bulk items.
The best part? With dissolvable labels, you don’t need a label maker or fancy printed labels. Just write directly on the dissolvable label with a regular pen, stick it on your container, and you’re done. When you need to relabel, toss it in the dishwasher and the old label disappears completely.
This is especially great if you reuse containers for different things. One week that jar holds flour, next week it’s sugar. No problem—the label washes away and you can relabel it instantly.
5. Do a Monthly 15-Minute Audit
This final hack ties everything together. Once a month, spend just 15 minutes doing a quick pantry audit:
Minutes 1-5: Take Inventory – Quickly scan your pantry and make a list of what you have. Note items running low.
Minutes 6-10: Check Dates – Look at labels to see what’s expiring soon. Move older items to the front and create your “use first” list for the week.
Minutes 11-15: Clean and Reorganize – Wipe down any spills, reorganize items that got mixed up, and remove any expired items.
Do this right before you make your grocery shopping list. When you know exactly what you have, you only buy what you actually need. This prevents buying duplicates and ensures nothing expires before you use it.
This is so much easier when everything is clearly labeled. You can quickly scan your pantry, see what you have, and know exactly when things were opened or made.
Bringing It All Together
These five hacks work together to create a pantry system that saves time and money:
You label everything with dissolvable labels, organize items by category and use frequency, implement FIFO to use older items first, use clear containers for bulk items, and do monthly audits to stay organized.
The result? You’ll save 10-15 minutes every time you cook, prevent food waste (saving $400+ per year), reduce stress, make meal planning easier, and keep your kitchen cleaner with no sticky label residue.
The secret ingredient is labels that actually work. Regular labels leave sticky residue, masking tape falls off, and permanent markers don’t come off. Dissolvable labels give you all the benefits of clear labeling without any of the downsides.
If you’re ready to finally get your pantry organized, start with dissolvable food labels here. They’re the foundation of a system that works long-term. At less than a penny per label, they’re one of the most cost-effective organization tools you can buy—especially when you consider how much money they save you in reduced food waste.
Start with Hack #1 this week. Label everything currently in your pantry, then gradually implement the other hacks. Your future organized self will thank you!